Add an IPv6 Pool
Overview
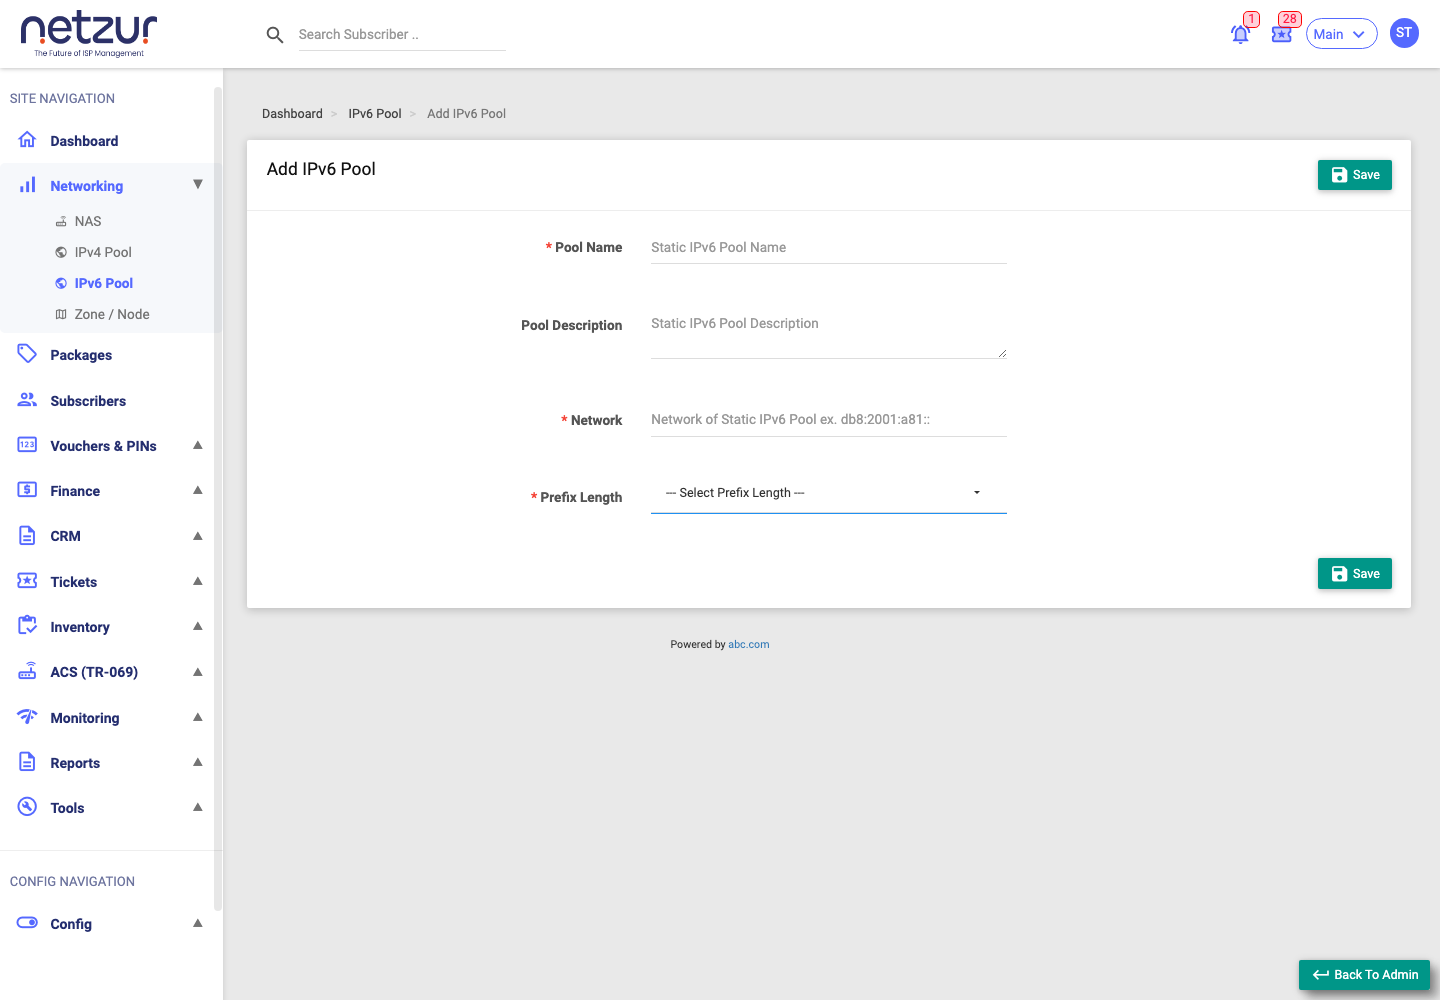
This page explains how to create an IPv6 address pool by giving it a name, the IPv6 Network prefix, and a Prefix Length.
Who Can Use This Feature
Network administrators and engineers.
Required Permissions
- IPv6 Pool → Add.
Prerequisites
- You know the IPv6 network prefix your ISP owns and the prefix length to assign.
Navigation
Networking → IPv6 Pool → Add Pool
Step-by-Step Instructions
- Go to Networking → IPv6 Pool and select Add Pool.
- Enter a Pool Name.
- (Optional) Add a Pool Description.
- Enter the Network — the IPv6 prefix, for example
2001:db8:1234::. - Choose the Prefix Length (for example
48,56or64). - Select Save.
Field Reference
| Field | Required | Description | Example |
|---|---|---|---|
| Pool Name | Yes | A name to identify the pool. | IPv6 Block A |
| Pool Description | No | A note about the pool. | Business customers |
| Network | Yes | The IPv6 network prefix. | 2001:db8:1234:: |
| Prefix Length | Yes | The block size (chosen from a list). | 48 |
What Happens After Saving
The pool is created and its addresses become available to assign to subscribers who need a static IPv6 address. Usage is then tracked in the pool's Used and History views.
Important Notes
- Enter the Network carefully — IPv6 prefixes are long and easy to mistype.
- The Prefix Length must match the size of the block your ISP actually controls.
- Make sure the block does not overlap another IPv6 pool.
Common Mistakes
- Mixing up the network prefix and prefix length.
- Choosing a prefix length that is larger or smaller than the block you own.
Troubleshooting
| Problem | Likely cause | What to do |
|---|---|---|
| Save is rejected | Invalid network or prefix length | Check the Network format and the selected Prefix Length. |
| Addresses don't appear for assignment | Overlap or wrong block | Confirm the block and that it saved correctly. |
Related Guides
- IPv6 Pool Overview
- Add an IPv4 Pool (the IPv4 equivalent)