Add a Node
Overview
A Node is an equipment or aggregation point inside a zone, placed on the map with a location. This page explains how to create one.
Who Can Use This Feature
Network administrators and field/network staff.
Required Permissions
- Node → Add.
Prerequisites
- The Zone the node belongs to already exists (see Add a Zone).
- You know the node's location, or can pick it on the map.
Navigation
Networking → Zone / Node → Add Node
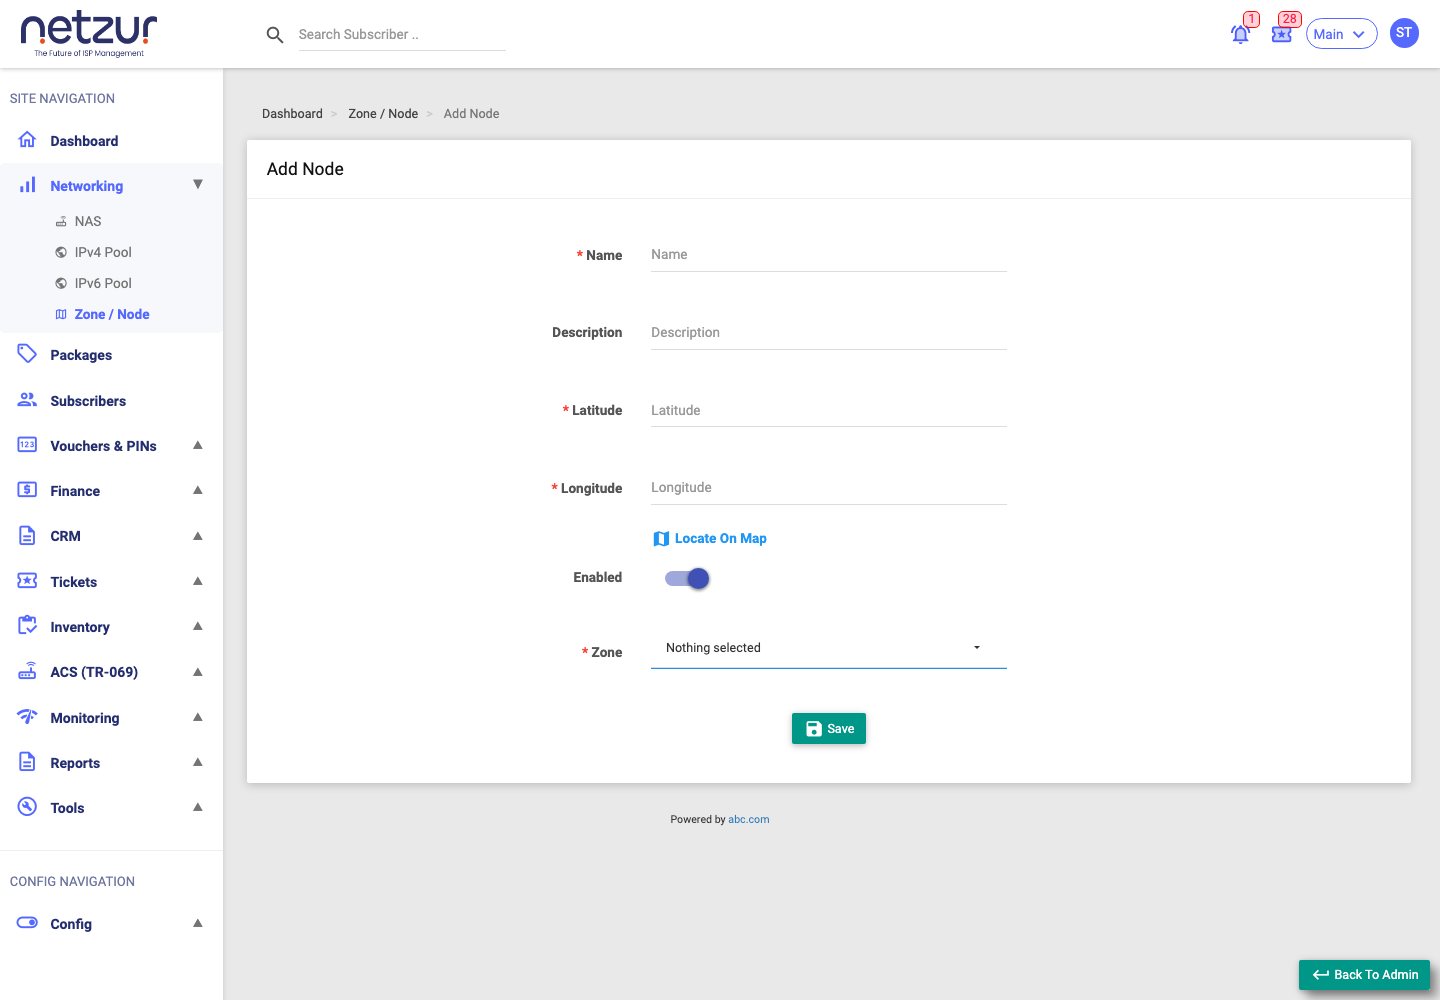
Step-by-Step Instructions
- Go to Networking → Zone / Node and select Add Node.
- Enter a Name for the node.
- (Optional) Add a Description.
- Set the Latitude and Longitude, or select Locate On Map to pick the point visually.
- Leave Enabled on.
- Choose the Zone this node belongs to.
- Select Save.
Field Reference
| Field | Required | Description | Example |
|---|---|---|---|
| Name | Yes | The node's name. | Tower-12 |
| Description | No | A note about the node. | Rooftop distribution |
| Latitude | Yes | Map latitude of the node. | 19.0760 |
| Longitude | Yes | Map longitude of the node. | 72.8777 |
| Locate On Map | — | Pick the location visually instead of typing coordinates. | — |
| Enabled | No | Whether the node is active. | On |
| Zone | Yes | The zone this node belongs to. | North Town |
What Happens After Saving
The node is created under its zone and can appear on the Network Map. Subscribers can then be associated with it, and you can set alerts for it.
Important Notes
- A node must belong to a Zone — create the zone first.
- Accurate coordinates make the Network Map useful; use Locate On Map if unsure.
Common Mistakes
- Leaving latitude/longitude empty (they are required).
- Selecting the wrong parent zone.
Troubleshooting
| Problem | Likely cause | What to do |
|---|---|---|
| No zone to choose | No zones exist yet | Create a zone first. |
| Node missing from the map | Coordinates missing/wrong | Edit the node and set the location. |