Add a Zone
Overview
A Zone is a service area you can group subscribers and nodes under. This page explains how to create one.
Who Can Use This Feature
Network administrators and staff organising the network.
Required Permissions
- Zone → Add.
Prerequisites
- None beyond access to the page.
Navigation
Networking → Zone / Node → Add Zone
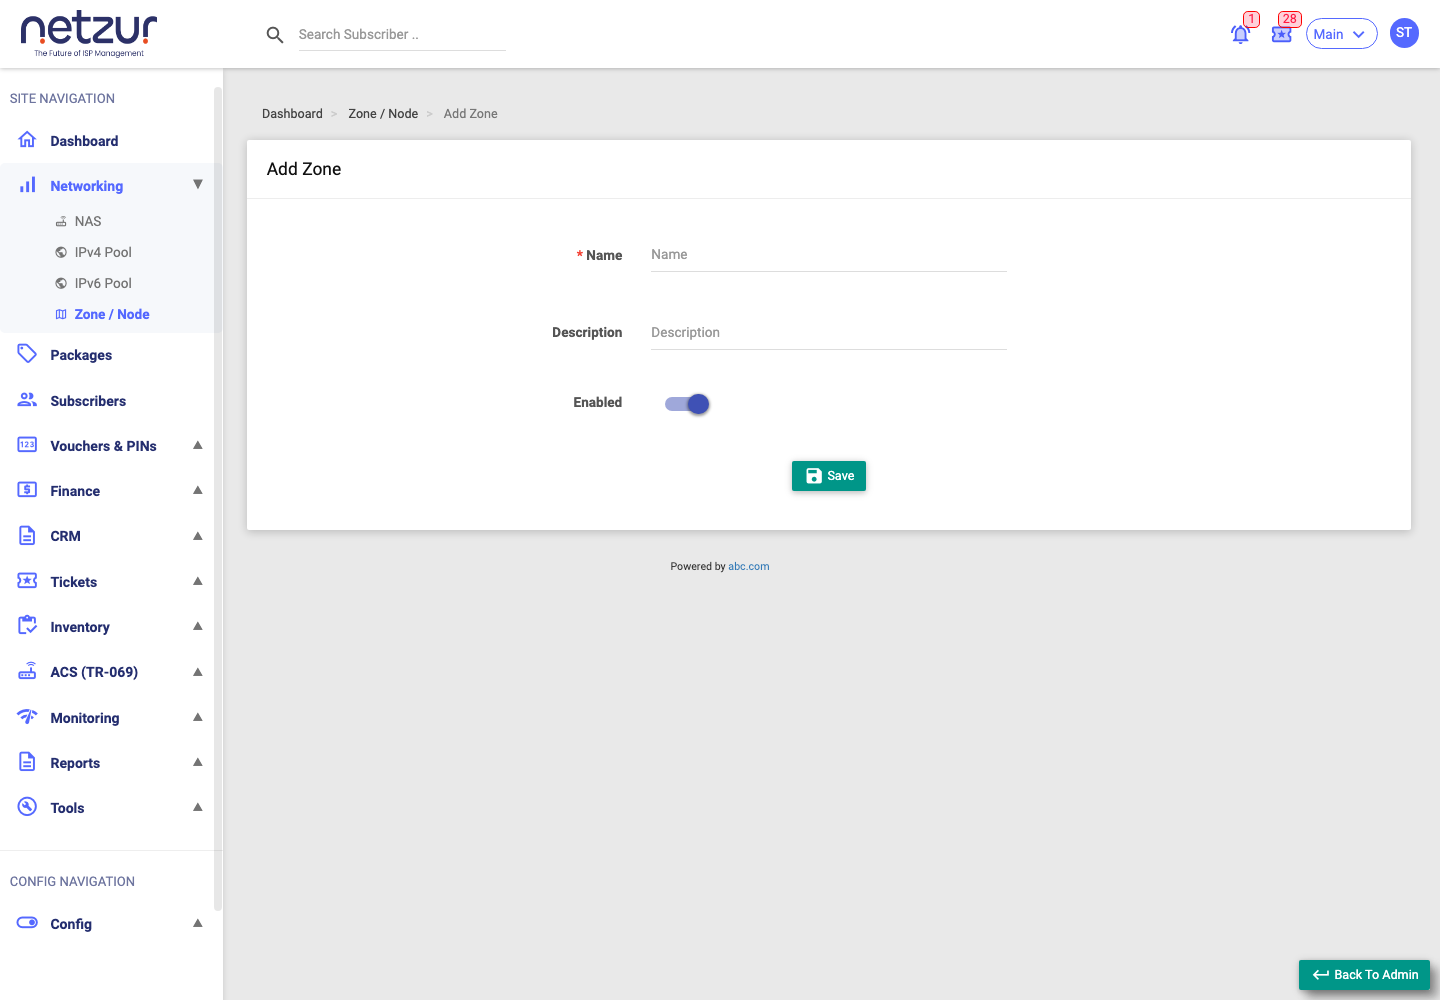
Step-by-Step Instructions
- Go to Networking → Zone / Node and select Add Zone.
- Enter a Name for the zone.
- (Optional) Add a Description.
- Leave Enabled on so the zone can be used.
- Select Save.
Field Reference
| Field | Required | Description | Example |
|---|---|---|---|
| Name | Yes | The zone's name. | North Town |
| Description | No | A note about the zone. | Covers sectors 1–4 |
| Enabled | No | Whether the zone is active and selectable. | On |
What Happens After Saving
The zone appears in the Zone / Node list and becomes available to select when creating nodes and subscribers.
Important Notes
- Create zones before the nodes and subscribers that belong to them.
- Alerts and LibreQoS limits are set on the zone's Edit screen, not here — see Edit a Zone (and Alerts).
Common Mistakes
- Duplicate zone names that make later selection confusing.
Troubleshooting
| Problem | Likely cause | What to do |
|---|---|---|
| Zone not selectable elsewhere | Saved as disabled | Edit the zone and turn Enabled on. |