Working a Ticket
Overview
Opening a ticket from the list or dashboard takes you to its workspace — where you read the conversation, reply, and move the ticket through its lifecycle (assign → resolve → close, with re-open if needed).
Navigation
Tickets → List → (click a ticket #)
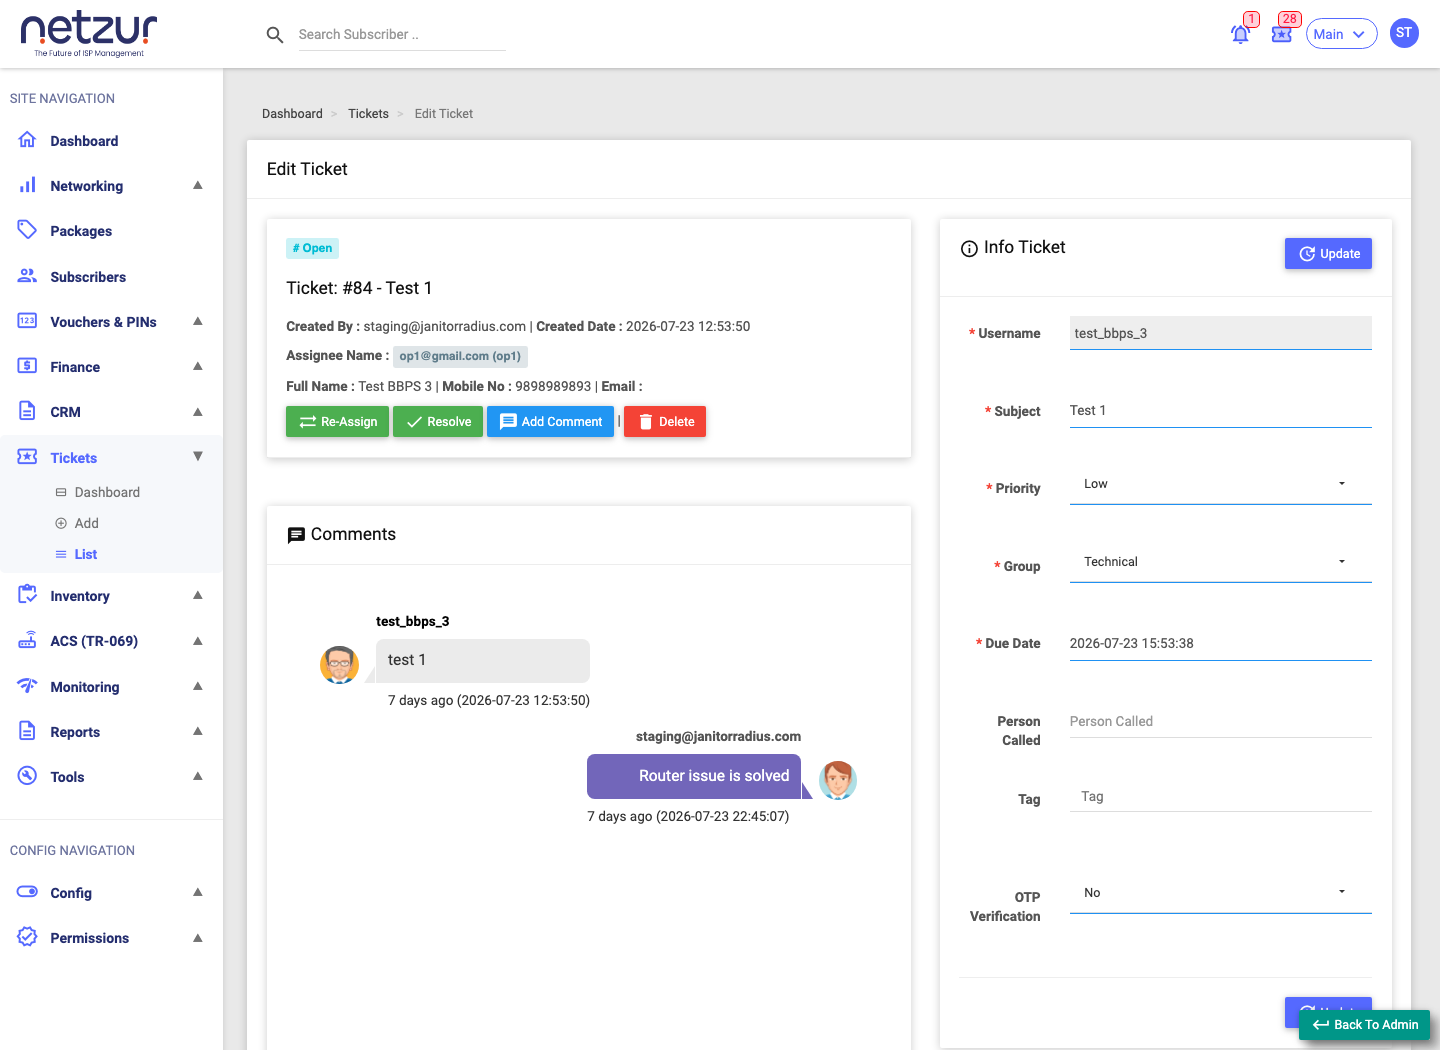
What's on the page
- Status badge — Open, Re-opened, Resolved or Closed.
- Ticket header — the ticket number and subject, who created it and when, the assignee, the resolve/close/re-open dates, and the subscriber's name, mobile and email. Below it sits the row of action buttons.
- Comments — the conversation thread. The original message is the first bubble; each reply shows its author, text, time, and any attachment. Your own replies appear on the right.
- Info Ticket (right) — an editable form for the ticket's Subject, Priority, Group, Due Date, Person Called, Tag and OTP Verification. The Username is fixed.
- Audit Timeline (bottom) — a full history of everything done to the ticket.
If the ticket came from a lead, a Go To Lead button links back to it.
The lifecycle
Open ──Resolve──▶ Resolved ──Close──▶ Closed
  ▲                   │
  └─────Re-open───────┘
Which buttons appear depends on the status:
| Status | Available actions |
|---|---|
| Open / Re-opened | Re-assign · Resolve · Add Comment · Update · Delete |
| Resolved | Close · Re-open · Add Comment · Update |
| Closed | (read-only — Delete only) |
The actions
Re-assign
Hand the ticket to a different staff member. Pick the Re-Assign User and add an optional Remark. The new assignee and the customer are both notified.
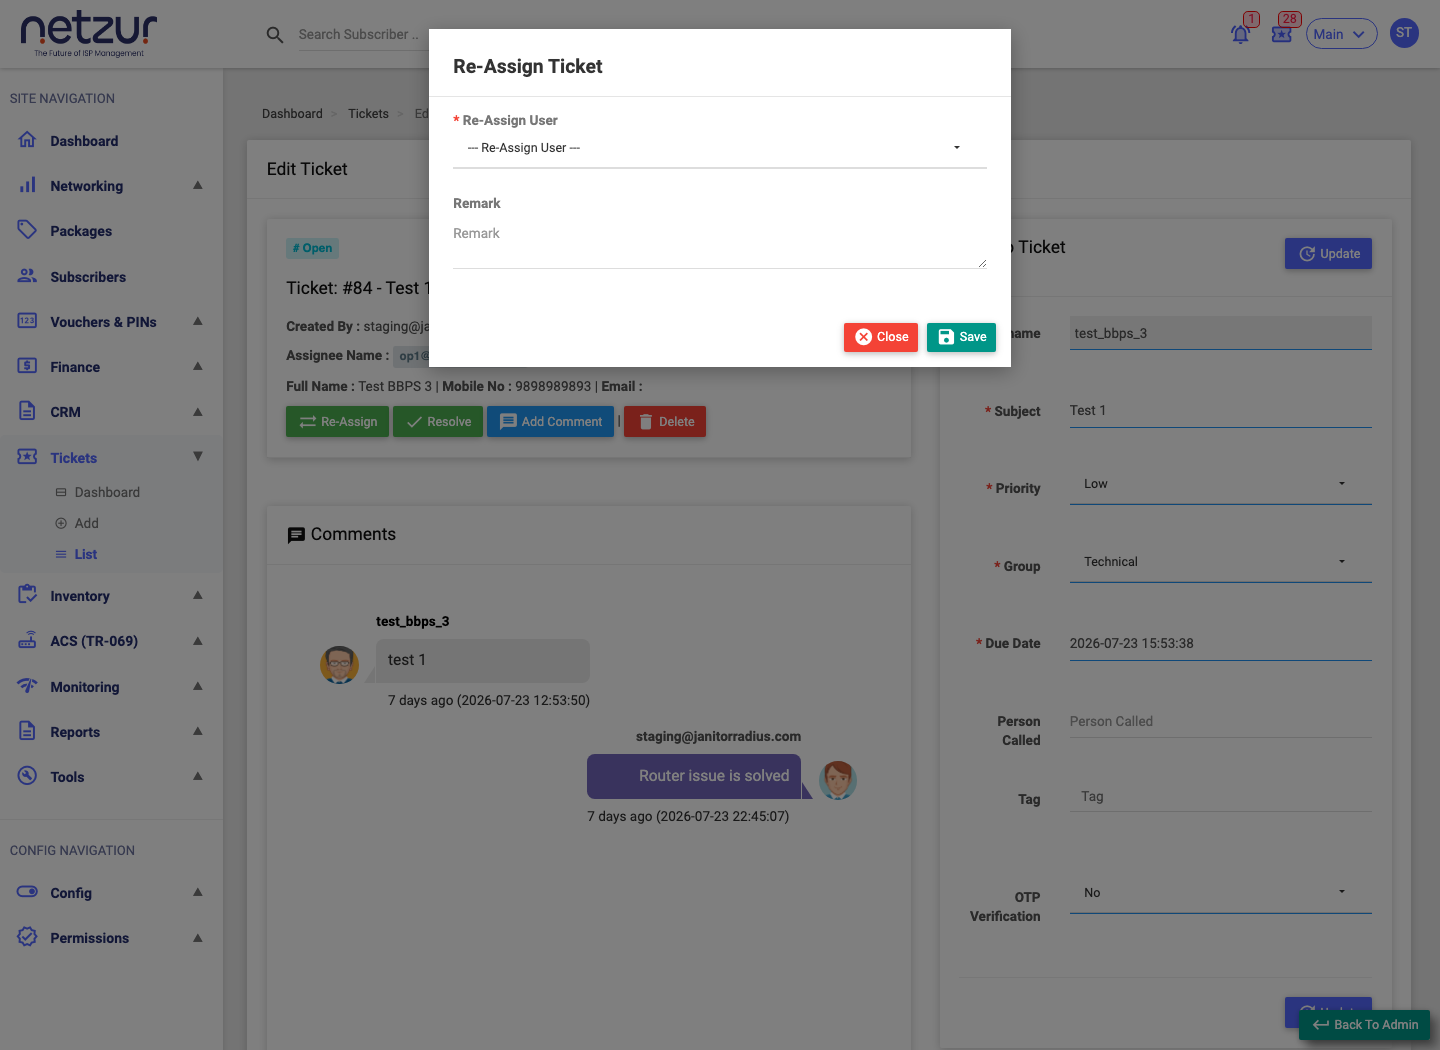
A ticket must be assigned to someone before it can be resolved — an unassigned ticket shows Assign instead of Re-Assign.
Resolve
Mark the work done. Add an optional Remark, then save — the status becomes Resolved and the customer is notified.
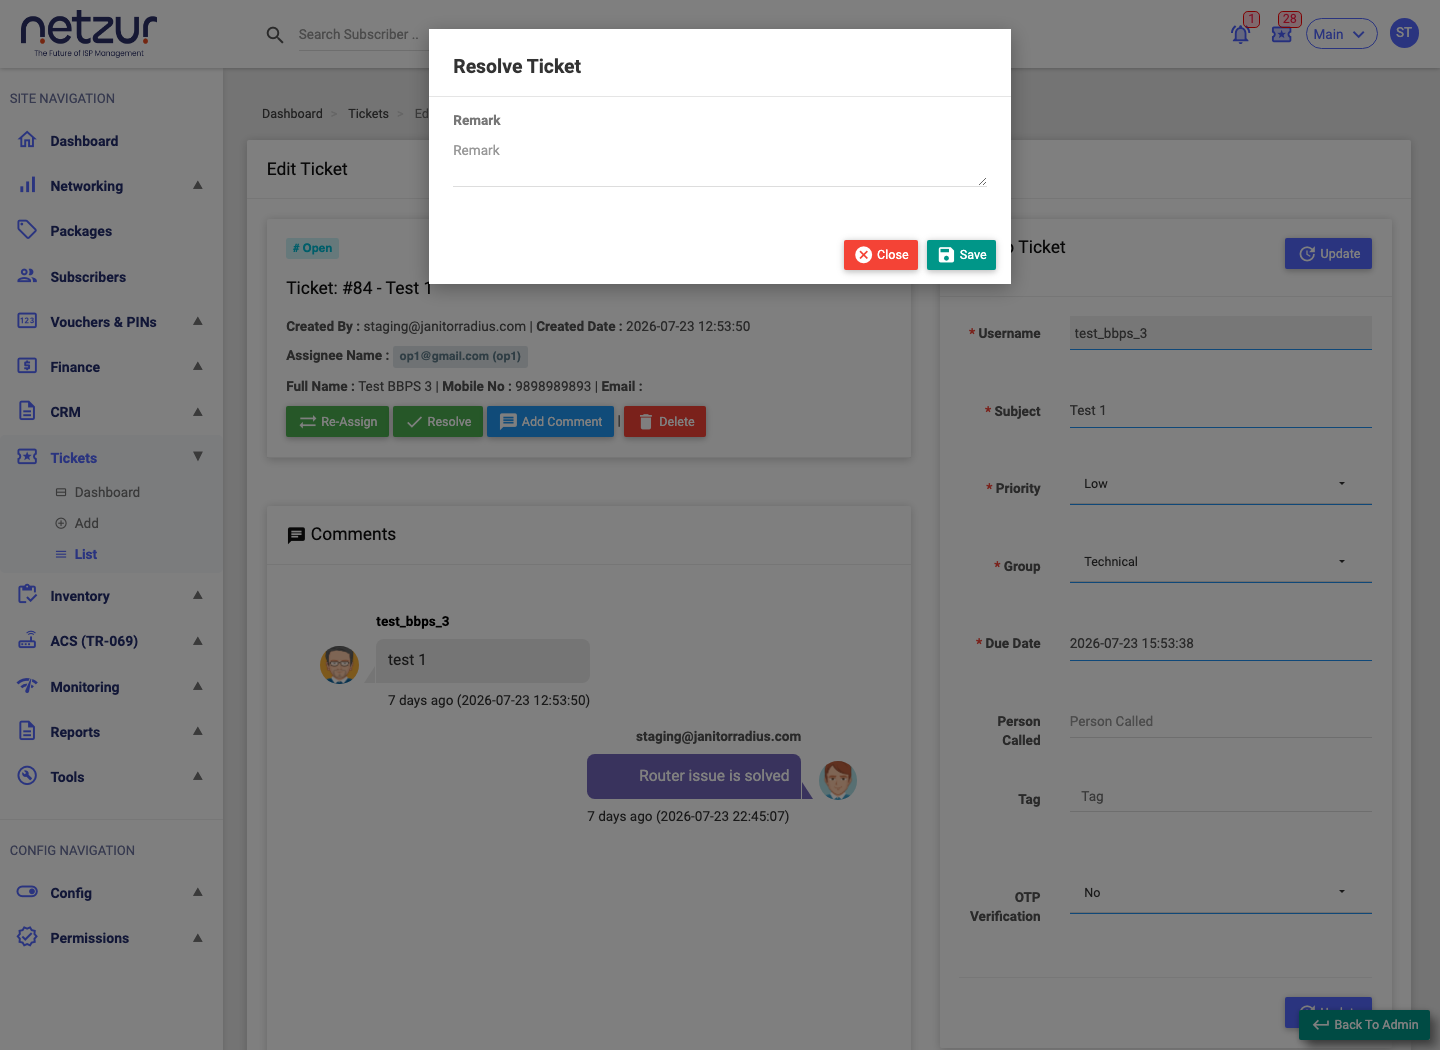
(For a ticket raised by a lead's quotation or account-creation step, the Resolve form also asks for the quotation or embeds the new-subscriber form — see the lead pipeline.)
Close
Close a resolved ticket for good. Add an optional Remark and save — the status becomes Closed.
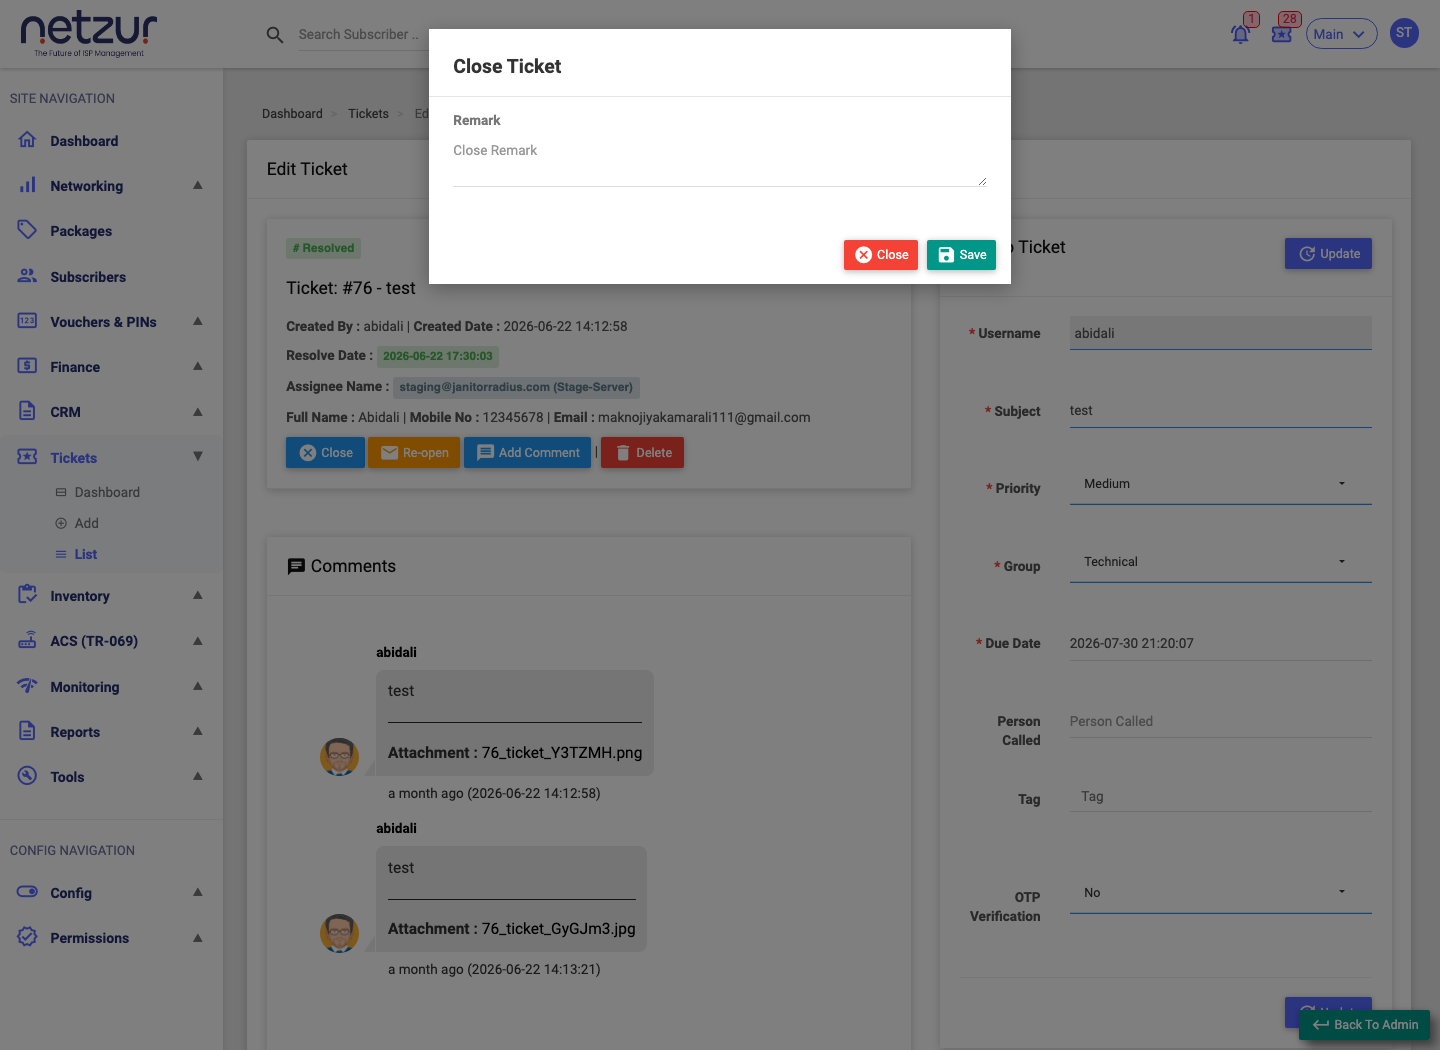
OTP verification: if the ticket was created with OTP Verification = Yes, clicking Close first offers to send an OTP to the customer. The customer reads it back to you, you type it into the OTP field, and the ticket only closes if it matches — proof the customer agrees the issue is fixed.
Re-open
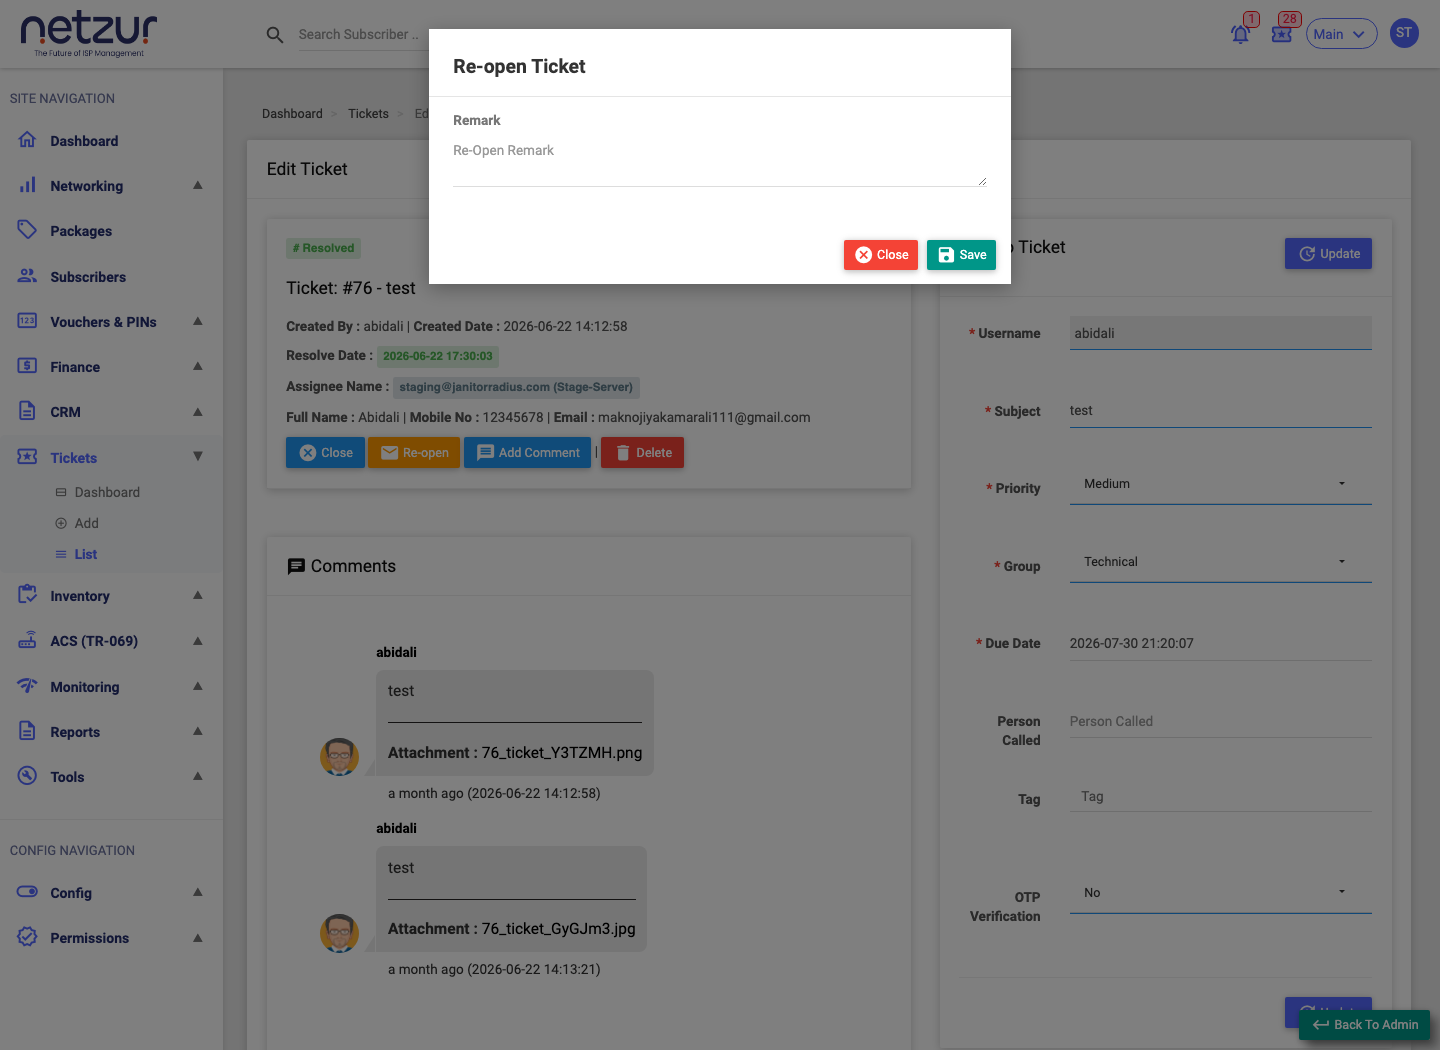
If a resolved issue comes back, Re-open the ticket. Add an optional Remark and save — the status returns to Re-opened and it's back on the agent's plate.
Add Comment
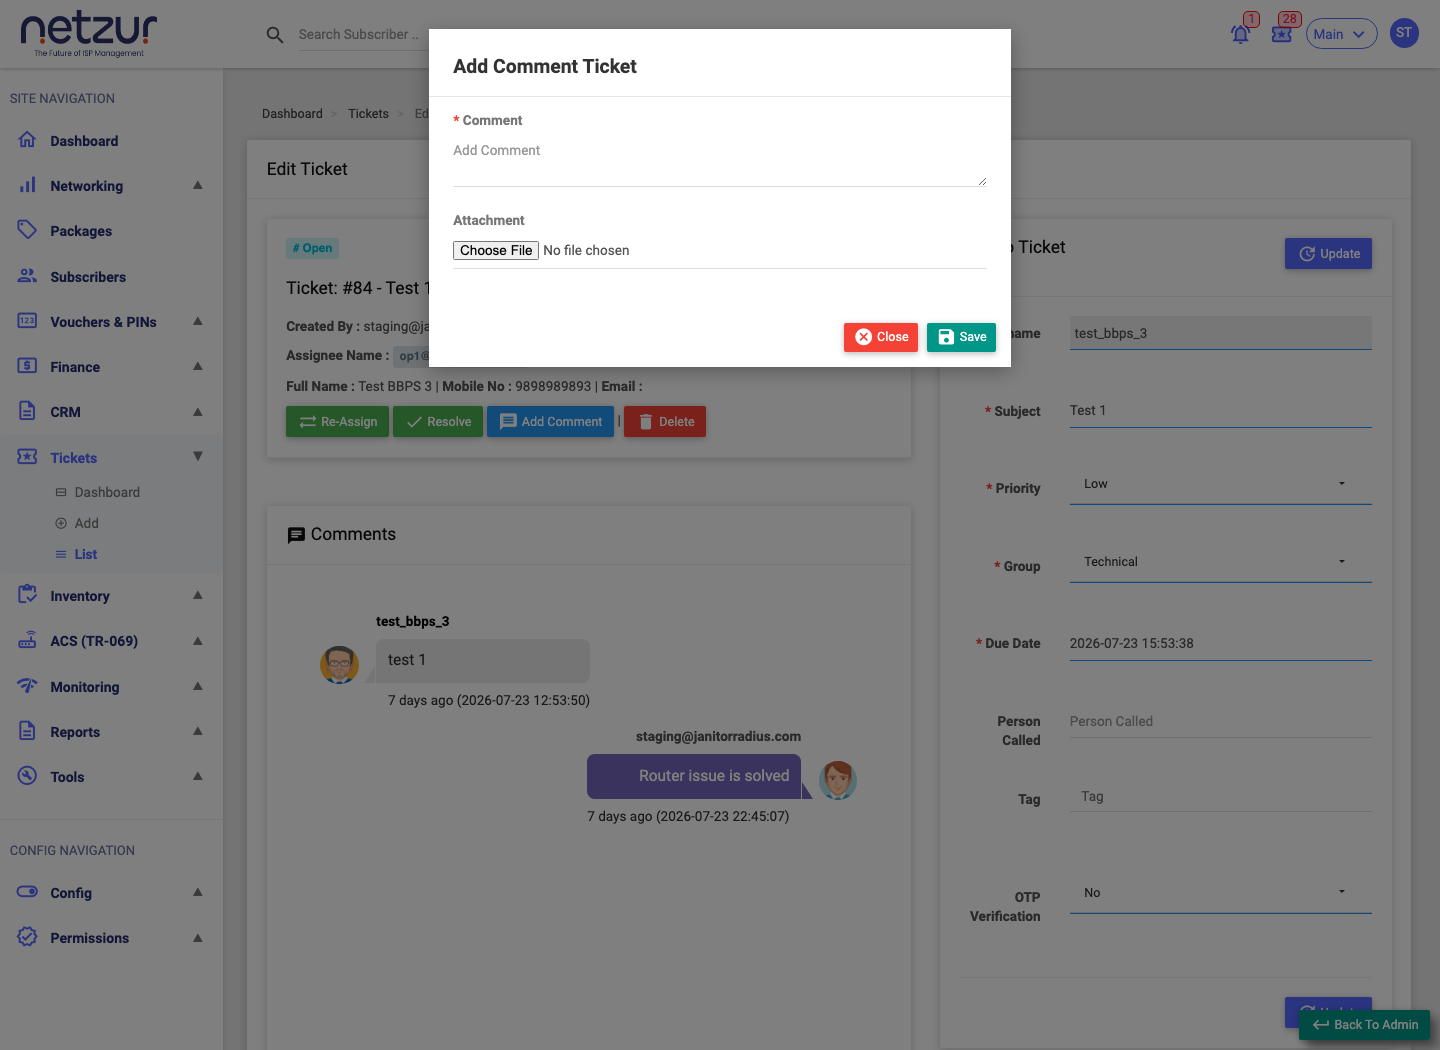
Reply on the ticket. Type your Comment and optionally attach a file (PNG, JPEG or PDF). The comment is added to the thread and the customer (and the assignee, if that's not you) is notified.
Update
The Update button (top of the Info Ticket form) saves changes to the ticket's Subject, Priority, Group, Due Date, Person Called, Tag or OTP Verification. Available while the ticket isn't closed.
Delete
Removes the ticket (a red Delete button). Lead-generated tickets can't be deleted.
Important Notes
- A Closed ticket is read-only — reopen it if you need to add more.
- Every comment and status change is recorded in the Audit Timeline for accountability.
- Turn on OTP Verification (on the add form or via Update) when you want the customer to confirm the fix before closing.